The Tag feature for the Mailchimp integration offers a sophisticated mechanism for synchronizing customer and product tags from WooCommerce to Mailchimp, enriching your email marketing strategies with nuanced, data-driven insights.
| CONFIGURATION ITEMS | DESCRIPTION | Version |
|---|---|---|
| Behavioral Tag Fields | Default Order Tags and Product Tags (PRO version only) are synchronized to your Mailchimp audience | Free + PRO Versions |
Step 1: Connect to the WordPress Admin area
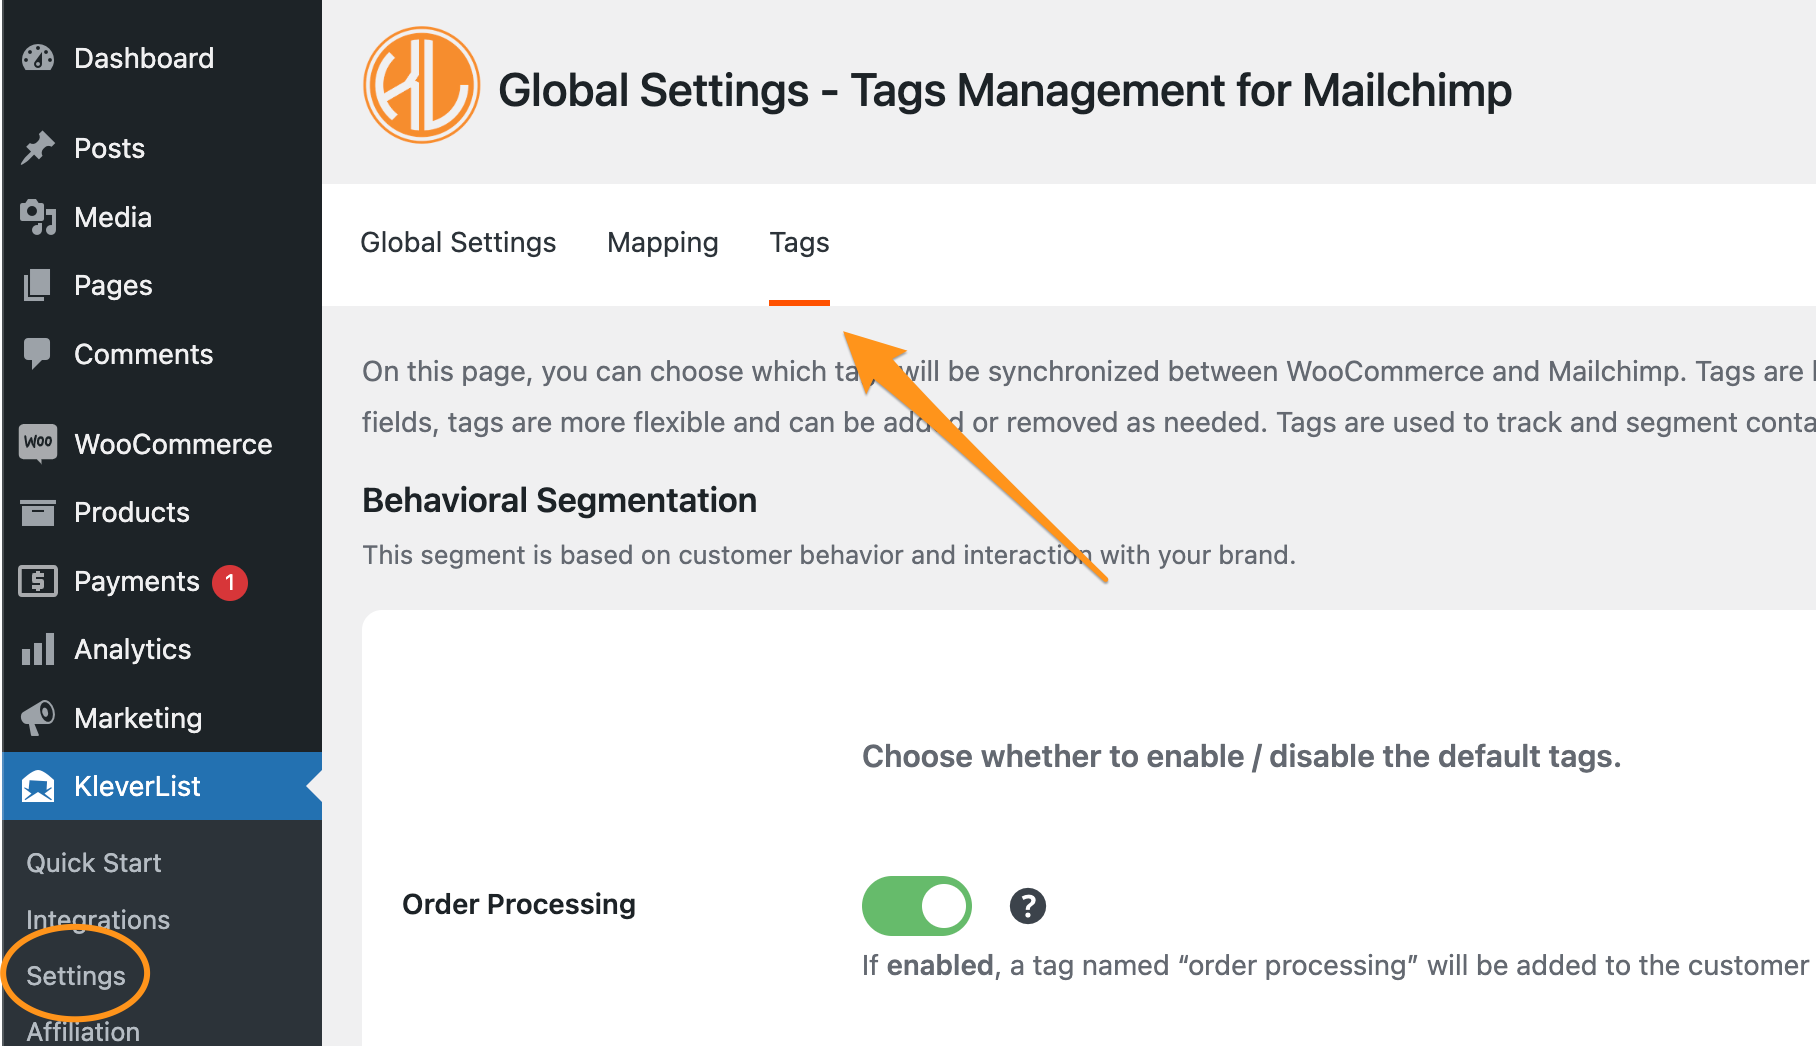
You can access the Mailchimp Tag feature by logging into your WordPress dashboard and navigating to the left menu. Now, locate and click on KleverList, then choose “Settings”, and click “Tags” on the top menu.
The Tags page will show up. Here, you can choose which information you want to synchronize to Mailchimp.
Within the Tags section, you have the choice to enable or disable the synchronization of specific tags. This option ensures that only relevant tags are shared between WooCommerce and Mailchimp, allowing for more targeted and personalized email marketing strategies.
Step 2: Select Tags for Synchronization
The next step is to choose which tags you want to synchronize between WooCommerce and Mailchimp. You have the choice between order-related tags, and product-related tags.
IMPORTANT NOTE
This feature automatically updates your Mailchimp audience with relevant tags based on customer interactions and behaviors within WooCommerce. By leveraging this dynamic tagging capability, you can segment your audience more effectively.
Select and enable the toggles corresponding to the data you wish to synchronize.

After choosing the desired toggles, simply click the “Save Changes” button to finalize the configuration.
Congratulations! You have just completed the Tags configuration. This seamless integration ensures that customer preferences and order status are accurately reflected in Mailchimp, allowing for personalized marketing efforts that resonate with your audience.
Let’s advance to the ultimate setup phase, where everything comes together! Here, we’ll enable the integration by identifying one or multiple products to be encompassed in the KleverList integration. Assigning Products to Audience.