The Sendy Tag feature offers an effective synchronization of tags between WooCommerce and Sendy, enhancing your email marketing campaigns by ensuring that customer data and their interactions are consistently updated across both platforms. This guide outlines how to access and utilize the Sendy Tag feature within the KleverList plugin.
| CONFIGURATION ITEMS | DESCRIPTION | Version |
|---|---|---|
| Behavioral Tag Fields | Default Order Tags and Product Tags (PRO version only) are synchronized to your Sendy list(s) | Free + PRO Versions |
Step 1: Connect to the WordPress Admin area
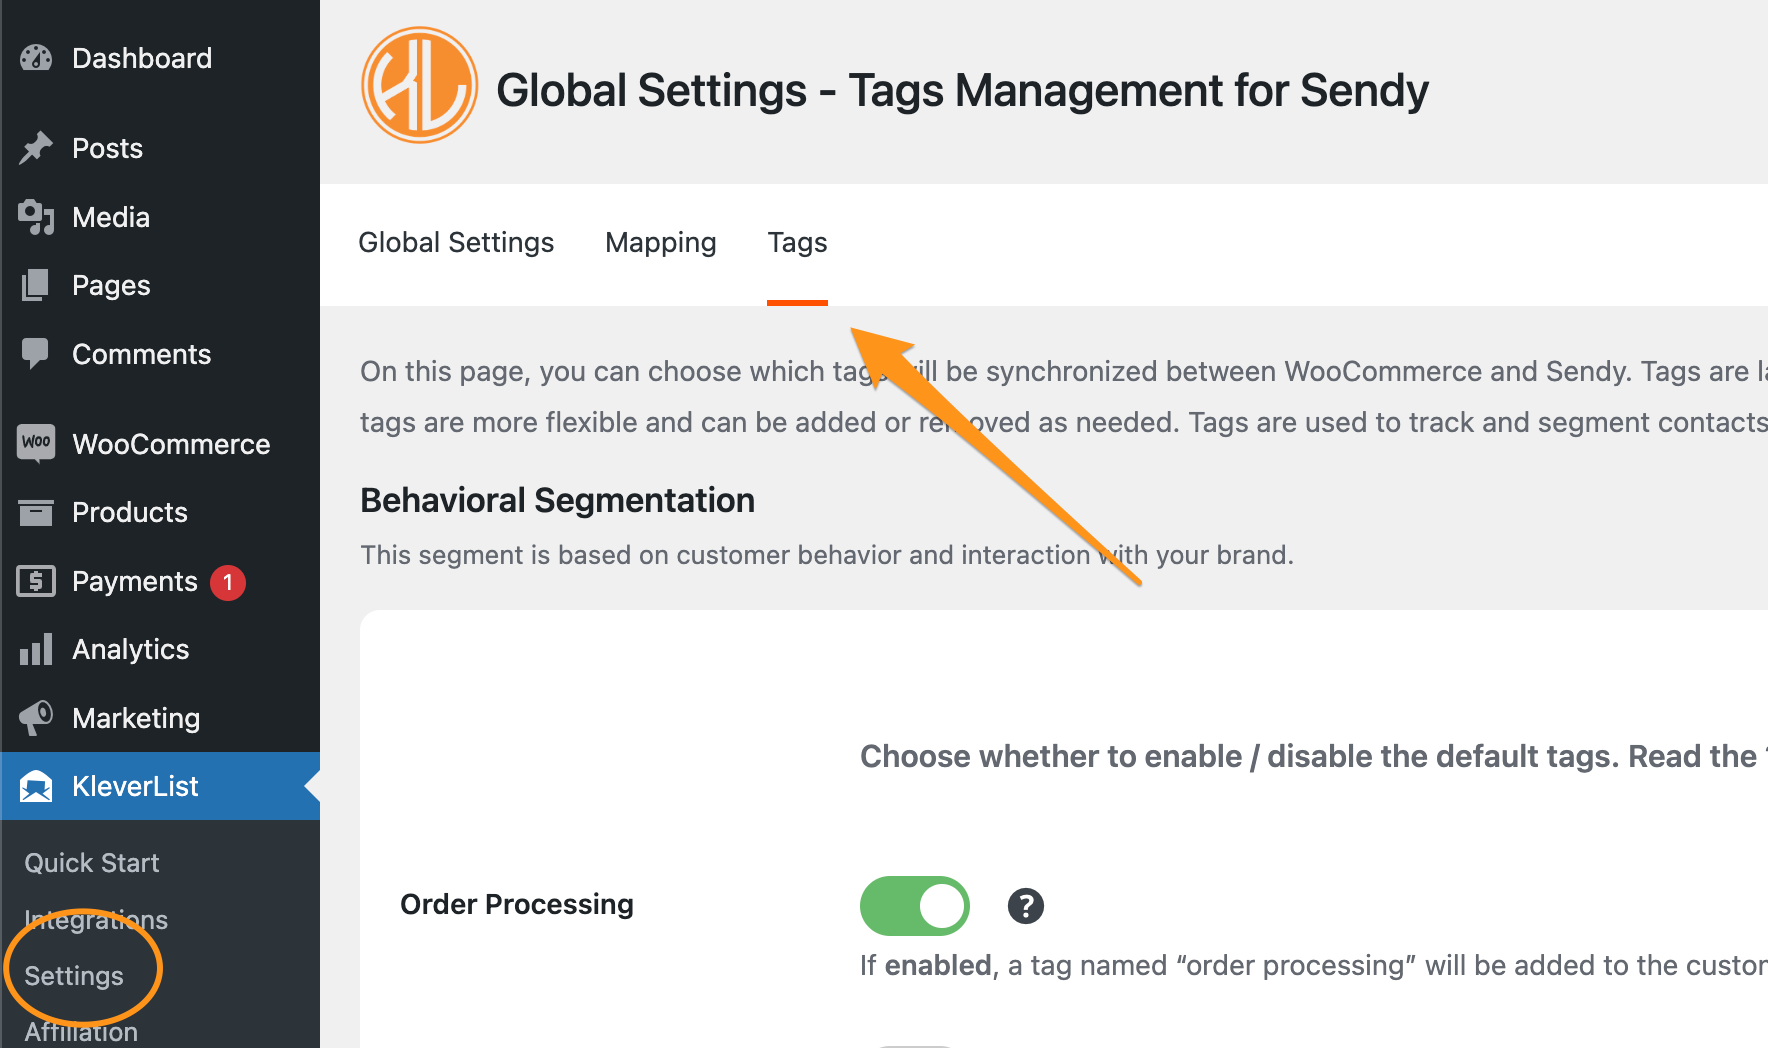
To access the Sendy Tag feature, log into your WordPress dashboard and navigate to the left menu. Here, locate and click on KleverList, then proceed to “Settings” and choose “Tags” on the top menu.
The Tags page will now show up. Here, you can select which information you want to synchronize to Sendy.
Within the Tags section, you have the option to enable or disable the synchronization of specific tags. This functionality ensures that only relevant tags are shared between WooCommerce and Sendy, allowing for more targeted and effective email marketing strategies.
Step 2: Select Tags for Synchronization
Now it’s time to choose which tags you wish to synchronize between WooCommerce and Sendy. You can choose order-related tags, as well as product-related tags.
IMPORTANT NOTE
Therefore, for each list in Sendy where you wish to synchronize tags from WooCommerce, you will need to create a custom field specifically for Tags.

This setup ensures that when data is synchronized from WooCommerce, there is a corresponding field in Sendy to receive and store these tags. Without this custom field, the synchronization process cannot occur, as there would be no destination for the tag data within your Sendy lists.
If you are unsure about how to create a custom field in Sendy, please refer to this page for detailed instructions.
To save all the settings, please click on the “Save Changes” button located at the bottom of the page.
By following the steps outlined in this documentation, users can easily manage tags between WooCommerce and Sendy, leading to more personalized and impactful email campaigns.
Let’s move on to the final configuration step, the one where the magic truly unfolds! In this phase, we’ll activate the integration by choosing one or several products that will be included in the KleverList integration. Assigning Products to Lists.