Mapping is a key feature in KleverList that enables synchronization of WooCommerce billing, user, and transaction-related data. When integrating with AWeber, the mapping section is designed to include fields organized into different segmentation categories, such as demographic, geographic, B2B, behavioral, and transactional. This setup helps users to tailor their marketing efforts effectively by aligning customer data with specific segmentation strategies directly within AWeber.
| CONFIGURATION ITEMS | DESCRIPTION | Version |
|---|---|---|
| Demographic Mapping Fields | Email, First Name, Last Name, Username of the customer will be synced with AWeber’s target list. Email is the only mandatory field. | Free + PRO Versions |
| Geographic Mapping Fields | Billing address fields of your customer will be synchronized with AWeber’s target list. All fields are optional | PRO Version |
| B2B Mapping Fields | Company Information of your customer | PRO Version |
| Behavioral Mapping Fields | These fields are based on customer behavior and interaction with your brand, such as the number of orders initiated. | PRO Version |
| Transactional Mapping Fields | All fields related to purchase behavior and spending pattern, such as total revenue and average order value. | PRO Version |
Mapping is a universal setting that is applied to and applied in the AWeber list. After setting up the mapping configuration, we need to assign it to one or more WooCommerce products. We’ll cover this in more detail later.
Step 1: Connect to the WordPress Admin area
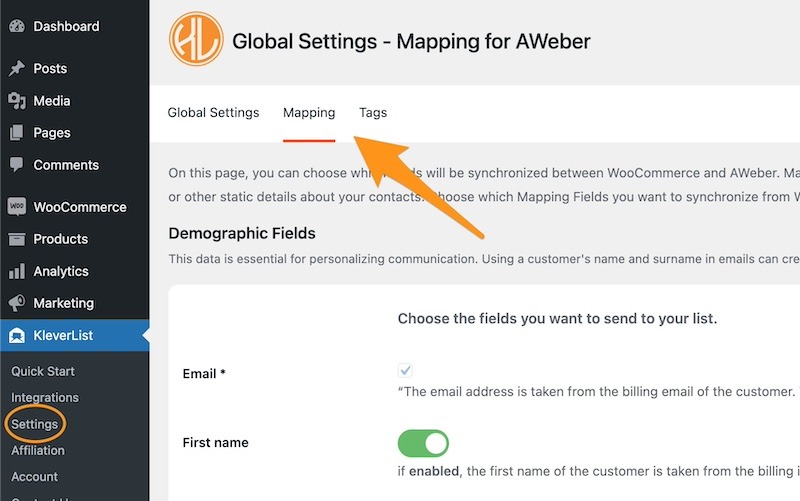
From your WordPress admin area, look for KleverList in the left bar. Then, in the KleverList plugin section, navigate to “Settings”, and select “Mapping” from the top menu.
The Mapping page will now load. Here, you can select which information you want to synchronize to AWeber.
All the toggles are disabled by default, except the email which is the only required field.
Step 2: Configure Mapping
The mapping feature in the AWeber integration allows you to sync a wide range of WooCommerce billing and user fields with your AWeber list.
This comprehensive mapping ensures that all relevant customer data is seamlessly transferred to AWeber, helping you run highly targeted and effective marketing campaigns. To start this synchronization, simply enable the toggles for the fields you want to sync.

These toggles are organized under the previously mentioned segmentation categories — demographic, geographic, B2B, behavioral, and transactional — allowing for a customized approach to how your customer data is segmented and utilized within your marketing efforts.
IMPORTANT NOTE
After activating a toggle and saving the configuration in KleverList, if one of the fields you want to synchronize does not exist in your target list, a custom field is automatically created in AWeber. This functionality simplifies the integration, ensuring that the selected data you wish to sync from WooCommerce is systematically organized and available. By automating the creation of these custom fields, the need for manual setup is removed, making data transfer more efficient and minimizing errors in your targeted marketing campaigns.
To save all the settings, please click on the “Save Changes” button located at the bottom of the page.
Well done! This completes the Mapping configuration. Now it’s time to proceed with the next step and configure the Tags.